Finally making good progress on getting the house in order. We have carpet from Home Depot going in in a couple weeks, so I took advantage of the currently exposed sub-flooring to shore up a flexing board at the top of the stairs. Turned out to be a previous patch job that had broken due to being poorly supported underneath. I ripped out the old flooring and one step, rebuilt the step with a a 2×10, and reinforced the joists (as Mary made fun of me for going overboard with reinforcements, as usual), then carved out a new top step with some scrap wood I had in the shop. That’s one solid step now! Would’ve been nice to match the fir floors I suppose instead of using pine, but that location should be perpetually covered by carpet, so harm done.

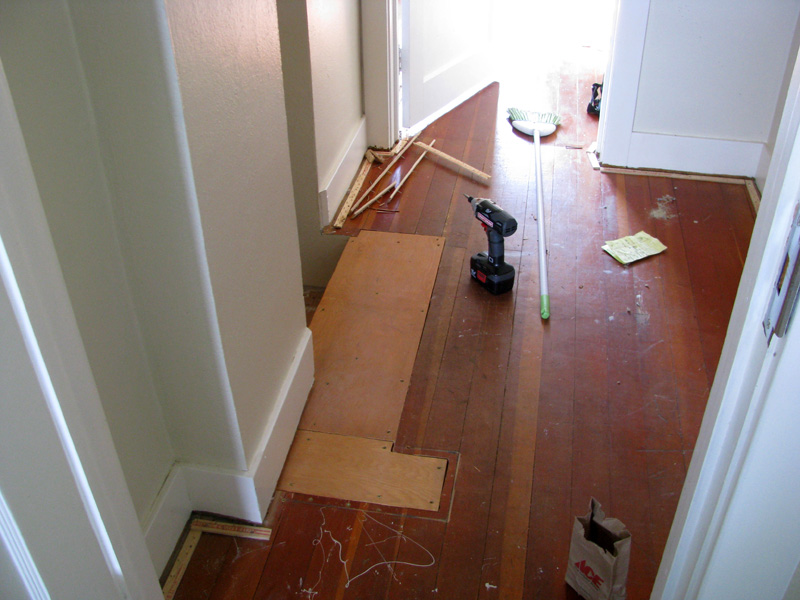
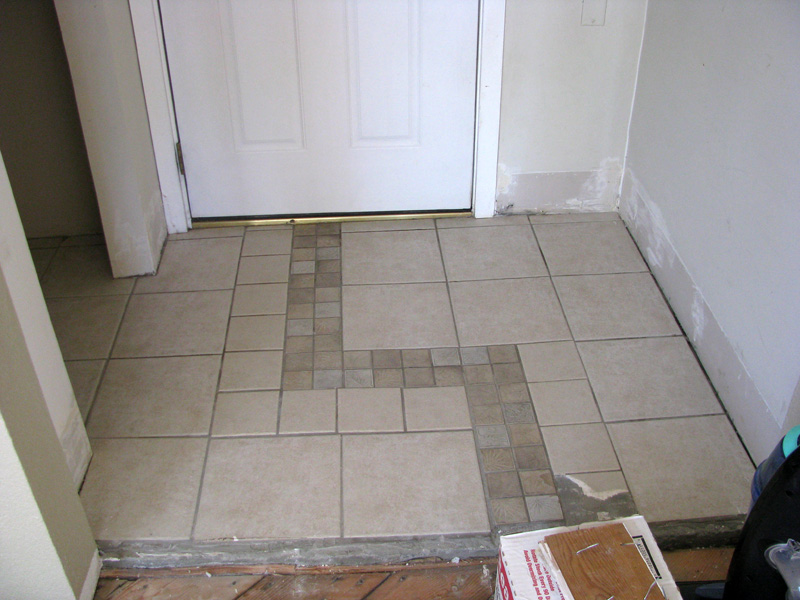
Also got going on redoing the front entryway to fix some poorly done tile work put in by a past owner. The old tile was chintzy looking, undulated, and had terrible spacing between the tiles. The tile work was installed over an old slab foundation. Initially I wanted to chip up the tile and start fresh, but after chiseling away a few tile fragments I realized that it would be significantly easier to go over top of the old tile with new tile.
To do that I needed a good level surface that the new tile would adhere to, so my only option really was to cover the current tile with cement and then tile over the cement. I’ve never worked with self-leveling cement before, so it was a bit of a leap of faith to pour buckets-full of cement onto the floor inside our house. I built a wood barrier between the slab and our wood floors in the dining room to contain the watery cement. It worked really well except for a small gap in the sub floor that ended up draining some of the cement into the basement (you can see the drain marks in the bottom right of the photo below).
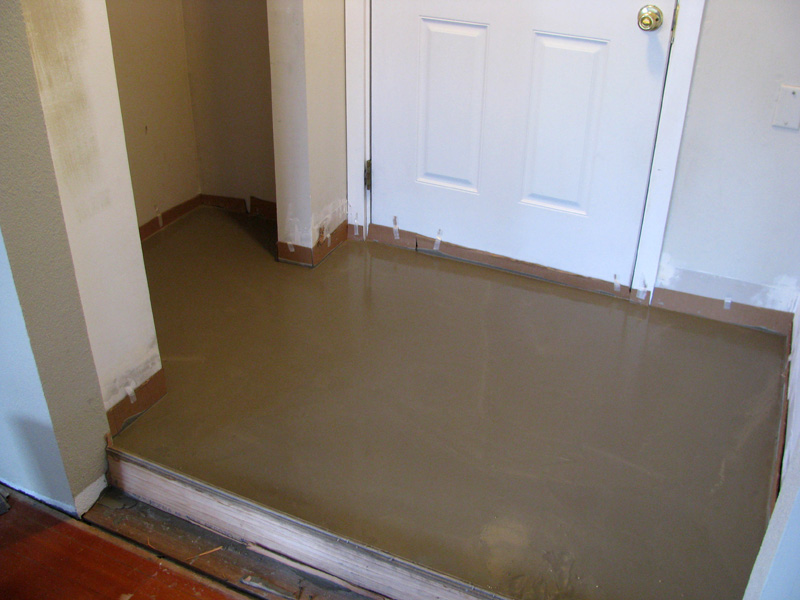
Lesson learned. I also learned how short my working window with self-leveling cement is. Pretty much 5-10 minutes to get the cement spread properly and any touching after that leads to weird marks in the drying cement. After the cement dried, I made sure the basement draining issue was shored up and tightened up my retaining wall board with caulk, then put a second coat (half the floor) of cement on to patch things up. Turned out fantastic and I now have a really nice level cement floor ready for tile once I get around to it. Hoping to get the new tile started this week.
It was important to get this cement project done asap, because we had a wood flooring company coming in last week to redo our adjacent wood floors. Below is a picture of our original flooring. It’s kind of tough to see in the photo, but those floors are pretty battered. They’re fir floors which means technically soft woods, but I think they’re at least leaning toward old growth wood which is somewhat more durable. In any case, soft or not, they’re unbelievable cool boards which really deserve to be showcased. Long unbroken wood with interesting grain patterns. We’ll have to try our best to keep the dogs claws from eviscerating them.


Here are shots during (sanded) and after (sealed and finished) of the wood floors. We used Bona Amberseal, to keep more of a natural color to the fir, and Bona Traffic as a top coat and I think it turned out beautifully.


Lots of other side projects going on too. I built and installed a few raised beds for an herb garden, turned over and reseeded a big section of the yard (20’x20′), repainted the front entryway, and rebuilt some of our irrigation plumbing after one of the dogs (probably Parko) broke the PVC pipe underground when he ran into the above-ground spigot.
Also been rock climbing quite bit. Climbed at Royal Columns last Thursday. Free-climbed Western Front (5.3) to set up some neighboring top ropes. Also ticked off: Slacker (5.4), Good Timer (5.4), Mush Maker (5.7), and Level Head (5.6). Nothing difficult obviously, but it’s been a lot of fun just dialing into crack climbing a little. Left: Level Head. Right: Mush Maker.


Your wood floor looks beautiful. Sounds like you’re getting tons done. Seems like with an older home there’s always something more to do, but it sounds like you enjoy tackling the work and do it well. (How did you learn to do all this?) I’ll be eager to hear that the carpet’s been installed (hope you post more pictures) and that you and Mary are really getting settled in there.
Pingback: slipperyamoeba.com » Blog Archive » Sat 22 Feb 14